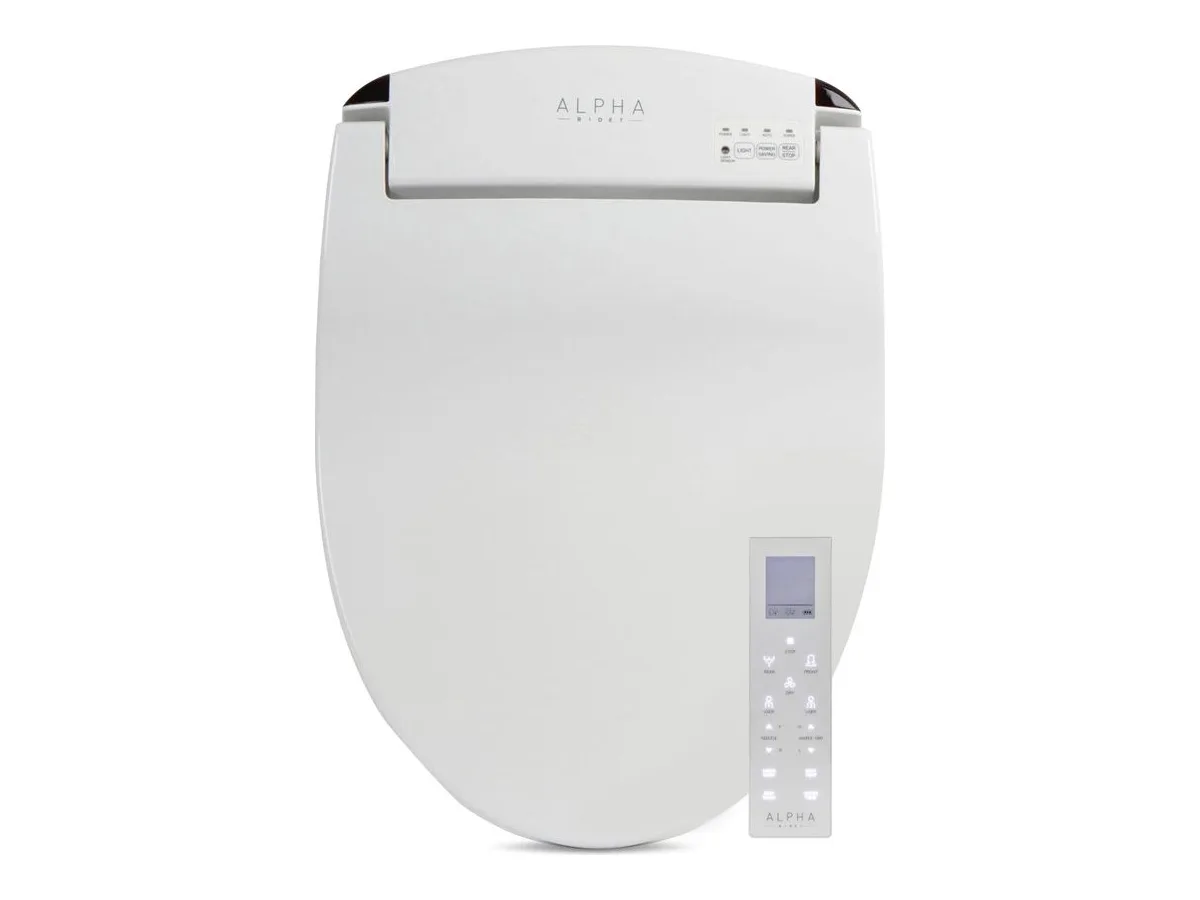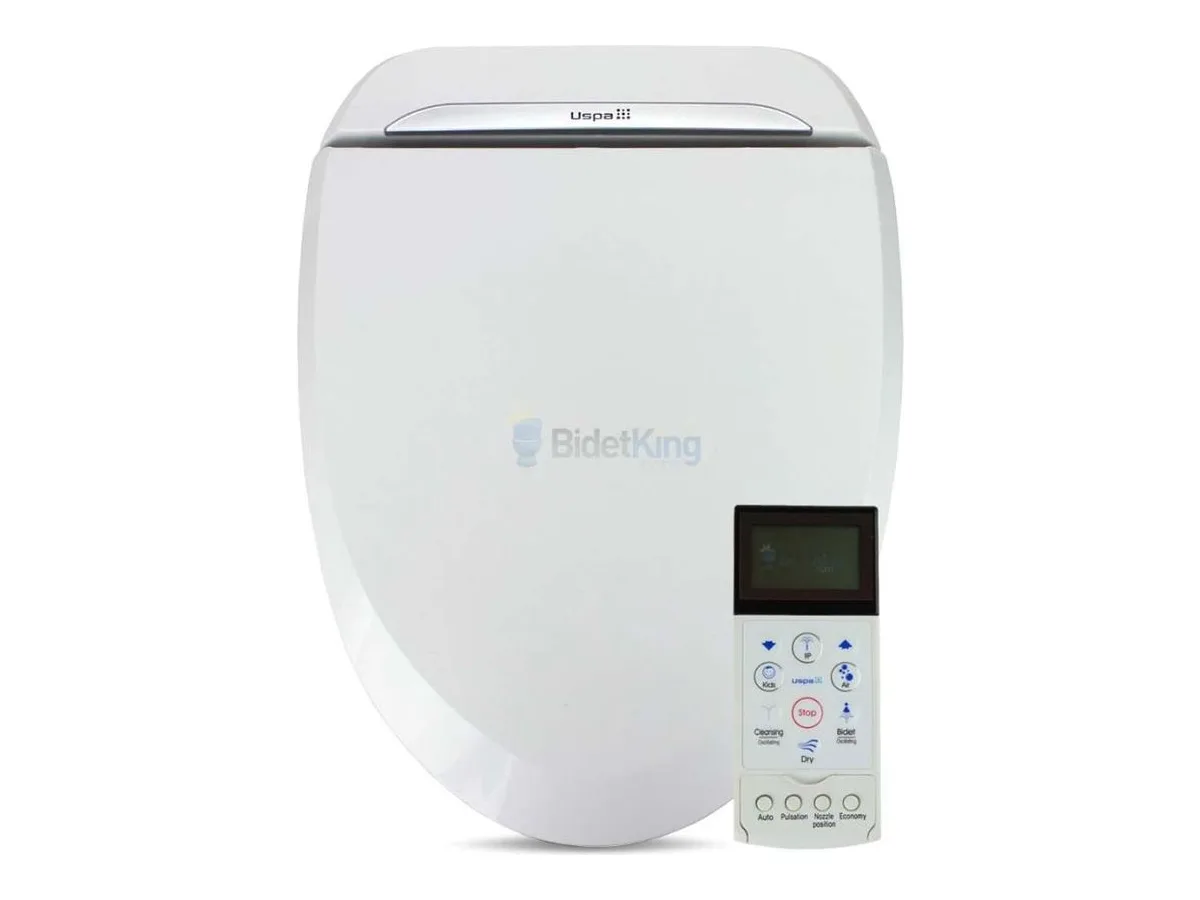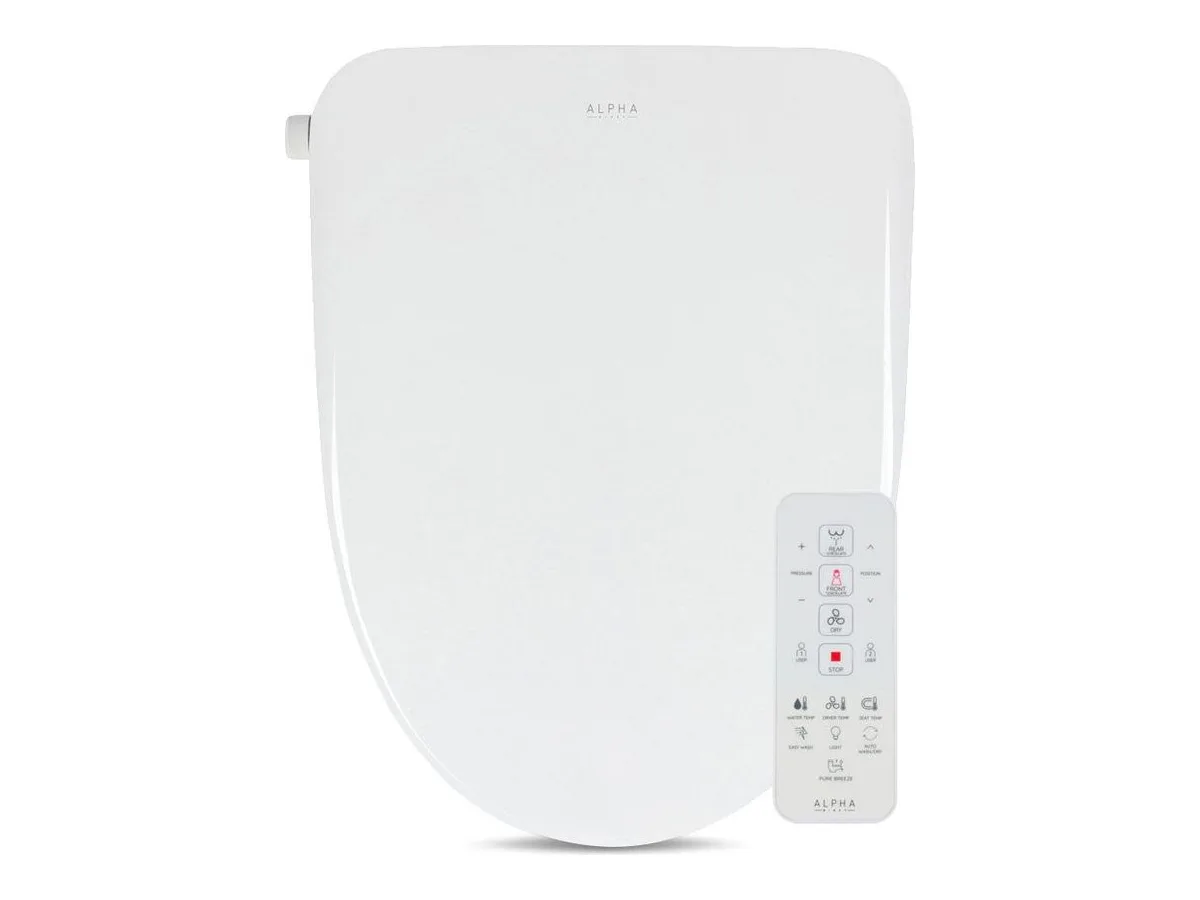



Most electric bidet seats install the same way, and you don't need a plumber. Dave filmed each step while installing the Bio Bidet USPA 6800 and Ultimate 770; the videos are below. Allow 30–45 minutes the first time.
Before you start
- Check fit: round or elongated, and whether there's flat space behind the seat bolt holes on a one-piece toilet.
- Check power: a grounded GFCI outlet within reach of the cord (often only about 4 ft). Avoid extension cords.
- Tools: an adjustable wrench, a screwdriver, a towel and a small bucket.
The steps
- Shut off the water and flush to empty the tank.
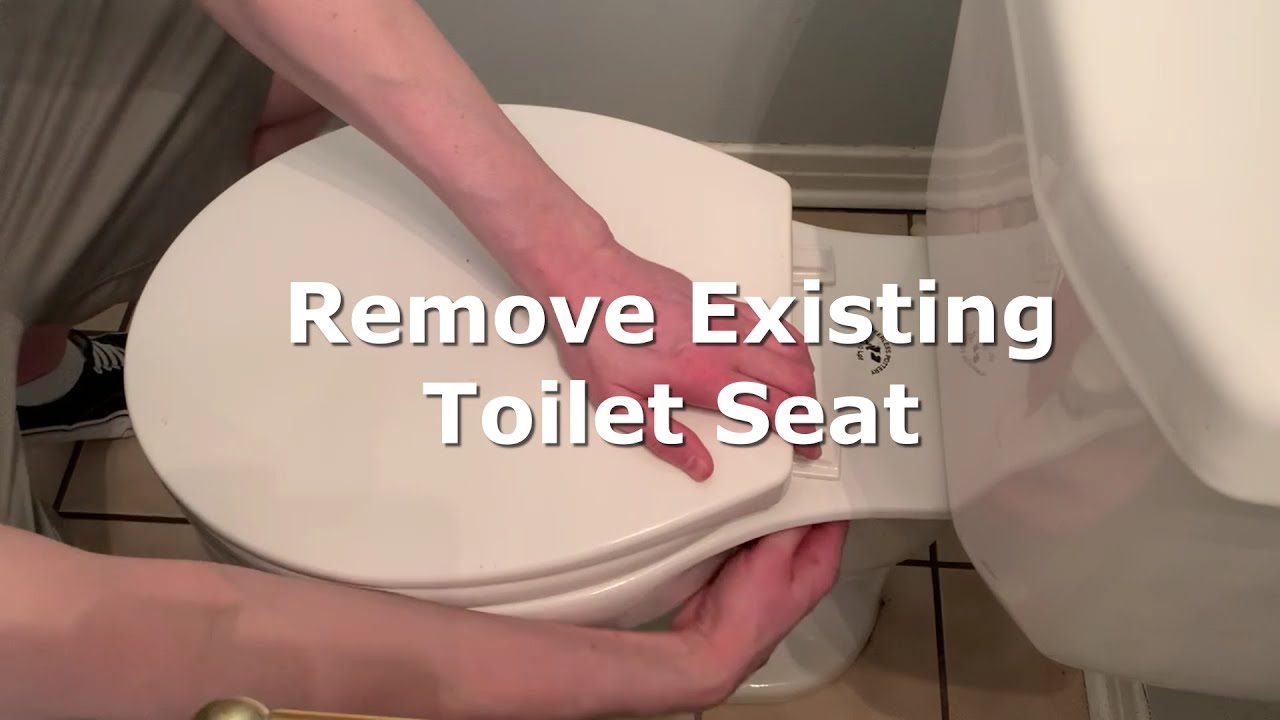
- Remove the old seat by undoing the two nuts under the bowl.
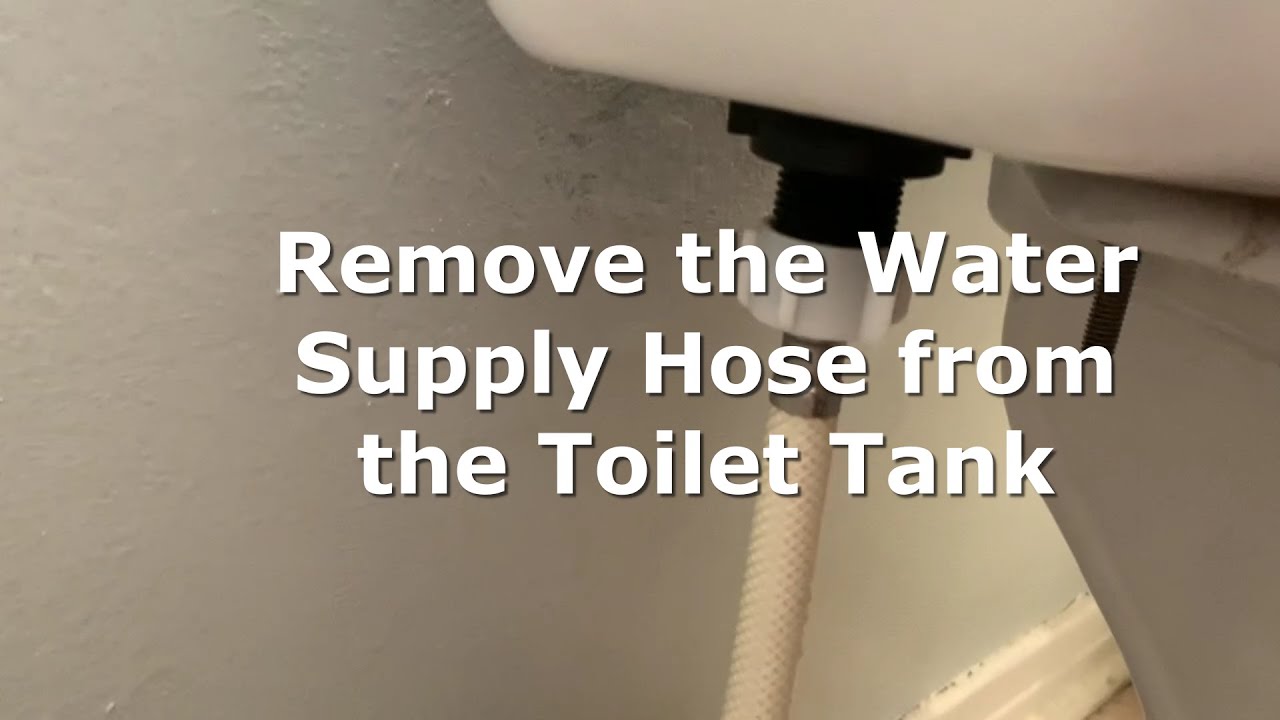
- Disconnect the supply hose from the bottom of the tank. Keep the towel handy for drips.
- Attach the T-valve to the tank's fill-valve inlet, then connect the original supply hose to the bottom of the T-valve.
- Fit the mounting bracket with the supplied bolts and rubber nuts. On toilets with closed bolt holes, the rubber top-mounting nuts expand inside the hole.
- Slide the seat onto the bracket until it clicks.
- Connect the bidet hose between the T-valve's side outlet and the seat.
- Turn the water back on slowly and check every joint for leaks before plugging in.
Common snags
- Leaks at the T-valve: usually a missing or doubled washer. Hand-tighten, then a quarter turn with the wrench.
- Seat sits too far forward or back: slide it off and adjust the bracket position.
- No outlet nearby: consider a non-electric attachment, or have an electrician add a GFCI outlet.
Tankless toilets and wall-hung toilets need a different approach; see bidet plumbing requirements.